|
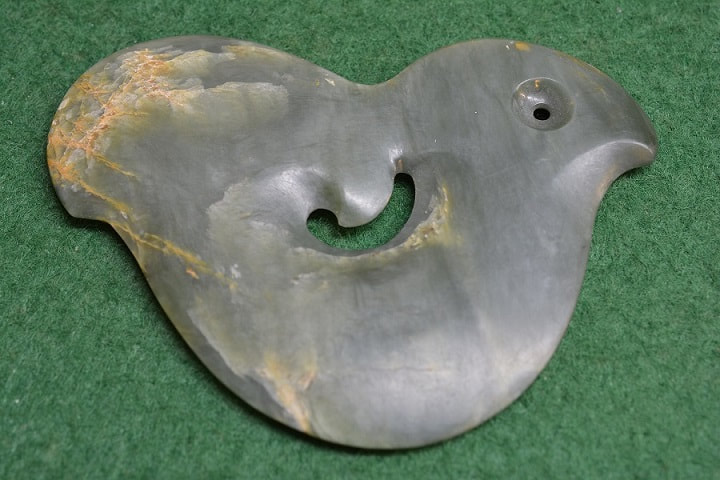
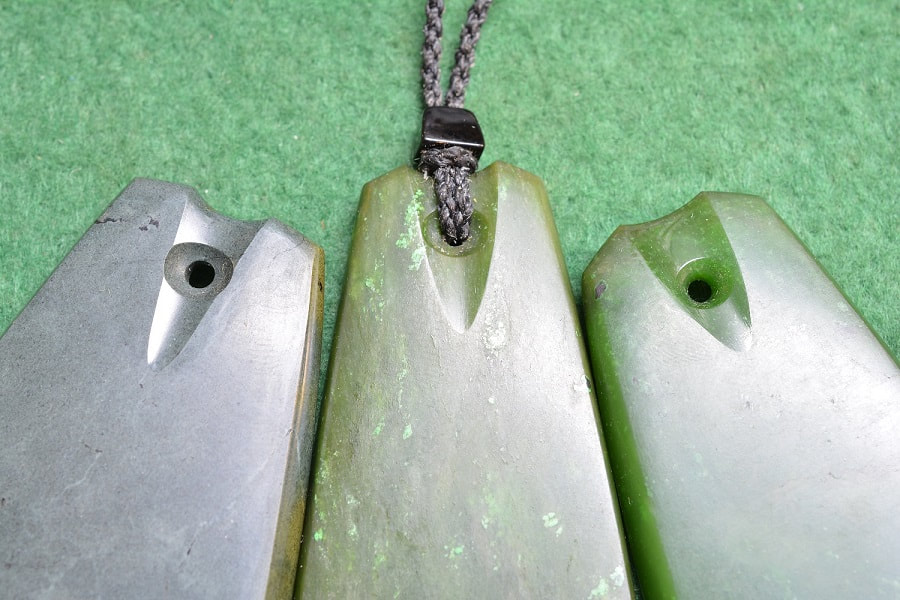
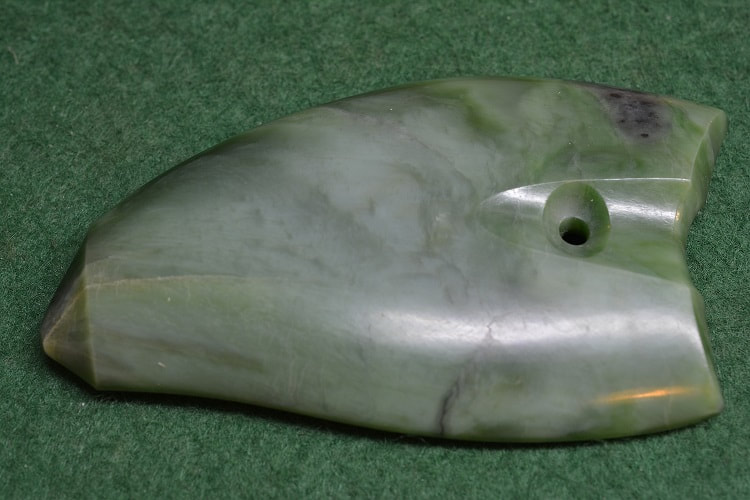
I'm very pleased to announce that this month's blog is provided by my good friend and very experienced carver Steve Myhre, who lives near Wellington in NZ. Steve does beautiful work in pounamu, as well as wood and bone. I'll provide contact details for him at the end of his article. It explains how he drills holes. This is a deceptively important area of carving - in short, if your holes are rough the cord will fray quickly and you stand a good chance of losing your precious piece of work. Drilling hard stones is a challenge that can often blunt the enthusiasm of the amateur stone cutter, but I have developed a routine that allows me to make holes in tricky material with a certain amount of control, but accidents do happen! Through a process of trial and error I have a policy of drilling a very small hole and then widening it slowly to avoid damaging the structure of the material. A long time ago I was talking with a friend who was a stone carver and he said, “Do you use the pump or rotating technique to drill holes?” I had not really thought about it, but after I did some experiments I found a mixture of both techniques is useful. The choice of burs for drilling is important; I mostly use a round headed slightly tapered bur, a 1LR, 1 to 2 mm in diameter, or 2LR, 2 to 3 mm. To start a hole, I usually start with rotating the bur in a hole that is slightly bigger than the diameter of the bur, this allows water to travel into the hole to cool the cut and evacuate the swarf. This means the bur is only in contact with one part of the hole so there are less problems with jamming or vibration. Just plunging the bur into the stone will not allow the coolant to reach the bottom of the hole and quickly strips the diamonds from the bur. The top of the hole can look quite alright using a plunge technique, but the bottom needs coolant and can be hard to see and judge, so with the plunge technique you need to pump the bur in and out of the hole which will pump the coolant into the cut and out again with the swarf. Perhaps the most important development of mine is I usually drill holes from both sides of the material that meet in the middle. If you drill from one side all the way through the work, it is likely there will be a blow out of material on the other side causing fractures and stunned crystal in jade. Drilling from both sides means less damage, particularly with thin material as it is easier to control the cut this way. Pushing a bur through from one side only can also set up a vibration as the bur bounces off one side of the hole to the other which can stun the crystal structure badly if the stone is at all fragile. This is something to do with the complete engagement of the cutting surface of the bur but hard to describe. I use an air driven handpiece to do the first cuts. 90,000 rpm is the speed of my handpiece so that does make things a lot quicker, but also more risk of damage if something goes wrong, control!! Slower speeds can achieve the same thing and drilling slowly is not such a silly idea when dealing with tricky stone. Slower handpieces are just as good, but the time of the cut is the factor so don’t be in such a hurry and you can achieve the result. The model for most of my holes are the biconical holes cut by stone age technologies. Maori stone cutting technology was very sophisticated and their use of the reciprocating “Bob” drill was very accurate enabling them to make very well controlled holes usually drilled from both sides of the material to meet in the middle. Other stone age cultures have also done the much the same thing. Once the first guide hole is cut I usually change machines and complete the hole by gradually widening it with slower burs run in my point carver. My point carver runs at about 1500 rpm. The bur in a handpiece will cut more quickly but there are risks in using them as once you have the first hole drilled slowing down is the better way to control the process. The control available from a stationary rotating cutter and moving the work around it is much more than holding the work stationary and moving the bur by means of a handpiece, at least that has been my experience. Most of the jade carved by the Chinese carvers was, and still is, carved using a point carver, now powered by electricity but before powered by leg power with leather straps giving a reciprocal motion One Maori Stone Age technique I found was that when a small hole was required through thin, or rounded, stock a groove was cut on both sides of the stock that would help locate the drill bit, so it wouldn’t wander off center. I have developed the groove and hole so that the slip knot of my suspension cord sits into the groove which means less abrasion to the cord and less irritation on the skin if the piece is worn against the skin. It works better, ergonomics, and looks better. To polish inside a hole, I use a couple of different techniques. I have developed a few devices which I wrap wet and dry sandpaper around. Some I have bought and others I have made myself from thin Aluminum tubing, with a few layers of paper on the tubes I can mush the wet end of the paper into different shapes that fit into the holes. I have thin tapered mandrills for the center of the hole and various diameter metal tubes with paper wrapped around them. My preferred hole is not exactly a Bi-conical hole, but two hemispherical countersinks joined by two tapered forms that meet in the middle, four cuts in all. The cross section of the hole resembles an hour glass. I have looked at old Maori stone age drill points, they have a fine pointed tip and flare out in the upper part. After the point carver burs widen and shape the hole I usually use some fine-grained silicon carbide sticks ritted, centered in the chuck, in the point carver to smooth the bur cuts, this introduces a little grit into the Jacobs chuck but over the years I have found that it is not enough to spoil the chuck too much. After the abrasive sticks I use wet and dry silicon carbide paper, starting wet, and allow it to dry to get a serviceable polish, but only hot enough to dry the water off and not enough to generate white burn. Its called “Wet and Dry” sandpaper, but to get a basic polish its “Wet to Dry” wet to cut and dry to polish. Thanks for your insights Steve: I very much appreciate your kind assistance! As promised, here are Steve's contact details. If you have any questions or comments, please contact him on <s.l.myhre@hotmail.com> and check out more of his work on <www.stevemyhre.com>. And a Merry Christmas and Happy New Year to you all! I'll be back in January!
0 Comments
|
AuthorOn this page I intend to add monthly updates on aspects of jade carving. I also plan to invite more experienced carvers to offer a "master-class" on a particular subject of their choice. With this I hope to enthuse both the novice and the expert in this ancient and beautiful art-form/craft. And comments are welcome! Archives
March 2024
Categories |


 RSS Feed