|
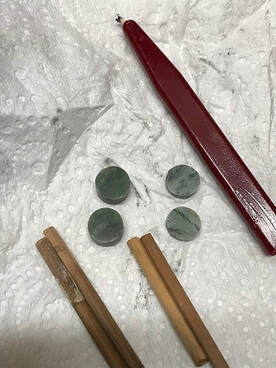
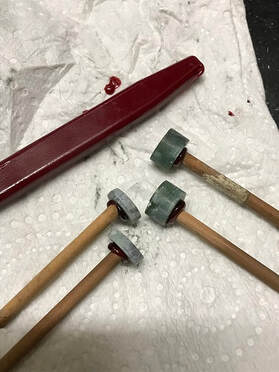
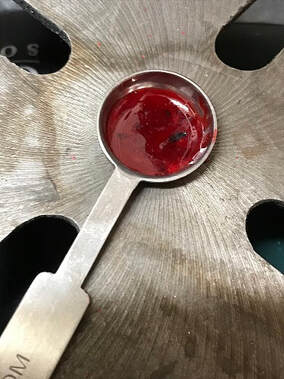
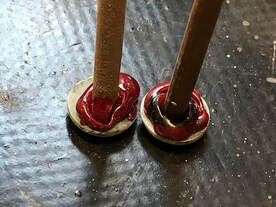
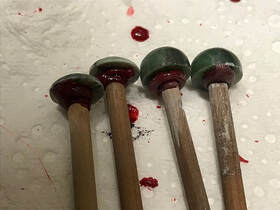
In my July 2019 blog on Paua inserts I mentioned using epoxy glue to stick the pieces of shell to dopsticks. I also wrote that I’d not found any suitable sealing wax for my purposes and would like to try it. Then I came across a company in Melbourne (Kustom Haus) which offered “Traditional” (ie brittle) wax which suited my needs. They also sell modern, rubbery stuff, which is no use to me. The company supplies small sticks of wax which have wicks to aid the melting, a bit of a luxury really, but I wanted to try out the technology before recommending it. Since then, whilst nosing around on the internet I see it is possible to find blocks of dopping wax, and I will look into that at some stage. One extra piece of equipment I bought from Kustom Haus was a small melting spoon. I collected all the drips and pieces of used wax off the dopsticks and melted it down in the spoon. To achieve this I used a small gas lighter underneath the stainless steel spoon and the wax melted in a minute or two. Then I dipped the end of the stick in the liquid wax, got it to the right shape and size of blob (sorry, I have to use technical jargon occasionally) and stuck it to the piece of stone or shell. The theory is pretty simple – to avoid grinding away your nails and burning your fingers on a small piece of work, you stick the stone or shell to a piece of dowelling, match or tooth-pick using the sealing wax. You can then roll the stick between your fingers for a regular curved finish, or shape the work however you like. Depending on the stone or shell, you might not need to use 240 grit Wet & Dry on your lap, but only begin at 600, and go to 1000. Some people add a lot of wax to their dopsticks to better hold the work. That’s up to you. The main benefit to using sealing wax over epoxy is that when the workpiece falls off the dop you don’t have to wait for the glue to harden before getting back to work. You can just heat up the wax on the dopstick slightly, make sure the work is dry and warm (some people warm their workpieces slightly to make a better bond), and stick them together again. And off you go!
A few reminders to save you some time:
And that is about it. It’s that simple!
0 Comments
Leave a Reply. |
AuthorOn this page I intend to add monthly updates on aspects of jade carving. I also plan to invite more experienced carvers to offer a "master-class" on a particular subject of their choice. With this I hope to enthuse both the novice and the expert in this ancient and beautiful art-form/craft. And comments are welcome! Archives
May 2024
Categories |
 RSS Feed